A simple guide to understand microG
Introduction
microG is a free and open-source implementation of Google Play Services. It aims to provide a functional replacement for proprietary Google services on Android devices. It allows users to run applications that depend on Google Play Services without having to authenticate with a personal Google user account, thus adding an anonymisation layer between users and the Google Play Services infrastructure.
/e/OS our privacy-focused, open-source mobile operating system comes pre-installed with microG. /e/OS users who want to enjoy using popular mobile applications can do so, while being protected from the data mining of big tech.
This guide will help you understand the basics of microG and also covers at a high level its integration in the /e/OS. This guide will also share some steps to help you ensure it is set up correctly for optimal functionality.
Core Component of microG
GmsCore: The main framework providing Google Play Services functionalities. GmsCore includes the Unified Network Location Provider module (UnifiedNlp) which handles application calls to Google’s network location provider. You can find more details about GmsCore from its dedicated page on GitHub
During the OS Setup
As mentioned in the introduction section, /e/OS comes with microG preinstalled. The user does not have to separately install microG on the /e/OS ROM.
- First Boot: When your device first boots into /e/OS, you’ll be guided through the initial setup process, including connecting to Wi-Fi, setting up security options, and more.
-
microG Configuration: /e/OS comes with microG pre-installed and pre-configured. However, it’s good to check and ensure everything is working correctly.
- microG Setup Validation
- Tap on the
Settingsicon
- Tap on the
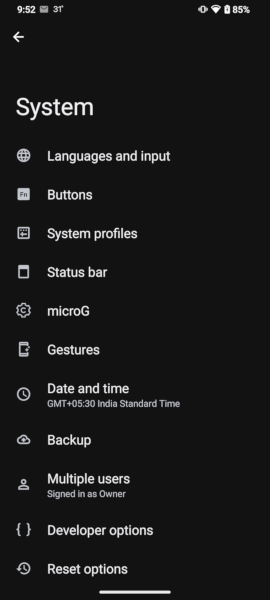
- Navigate to
SysteminsideSettings
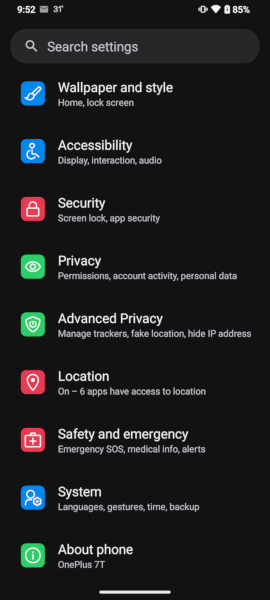
- Under
Systemscroll tomicroG
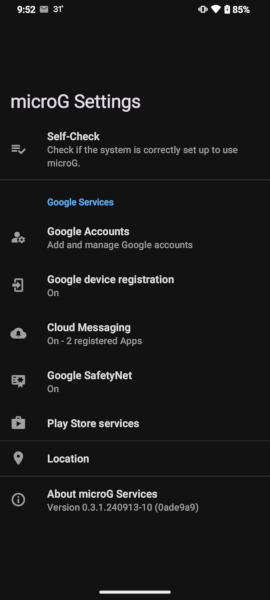
- On the
microgmain screen selectSelf Check
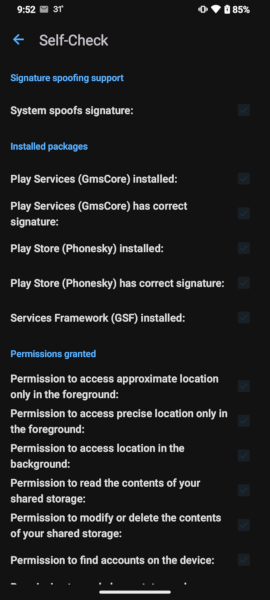
-
Ensure that all the check boxes are checked under
Signature Spoofing SupportInstalled packagesPermissions grantedSystem
The check boxes are checked by default.
Usage
- Verifying Functionality
- Install an app that depends on Google Play Services (e.g., Google Maps).
- Open the app and check if it functions correctly without errors related to Google Play Services.
- Using Google Account with microG
- Open the microG Settings app.
- Navigate to the Accounts section and add your Google account.
- Ensure synchronization options are enabled as needed.
Troubleshooting
- App Crashes or Errors
- Re-check the microG Self-Check section for any missed configurations.
- Ensure all necessary permissions are granted.
- Clear the app cache and data for the affected app.
Extra benefits of microG
- Signature Spoofing
- Some apps require signature spoofing to function correctly with microG.
- Google Safetynet
- Safetynet is a device certification system that ensures the device is properly secured and compatible with Android CTS.
Location backend
/e/OS configures beaconDB (https://beacondb.net/) as the default location backend.
Conclusion
microG is a powerful tool for users who want to minimize their reliance on proprietary Google services while maintaining app functionality. By following this guide, you can understand more about microG installed on your Android device. For more advanced support and community discussions, consider visiting the microG GitHub page or joining relevant forums and discussion groups.
/e/OS is proud to support the development of microG project since 2020.